Sunday, April 4, 2021

Debugging

 Long story short, found and squashed a few bugs.

And ever since I removed a big chunk of volatile array data that I kept to reserve space for gameplay uploads have mostly verified ok, so that's great. 

Just for the lulz (and it's usefulness when writing code from the bed) I created a DMD preview of the machine's internal DMD frame buffer on the serial terminal. It... looks a bit weird. The terminal I'm using to debug doesn't support extended ASCII or 256 colors, so I've had to be a bit creative.

But still pretty dope. :) 
I've also hot keyed flippers and start button, so I can navigate menus (and in theory) play a game as well. Of course, all previous maintenance commands like triggering solenoids, switches and lights etc still work as well. 


1) "Four-color" version. Colors turned out weird when photographing this one. 
The red shade is the same as the one below. The spelling error has since been corrected. ;)


2) Two variants; Top - two brightness values. Bottom - max or nothing. 
Having white/red was confusing so I went with the first four-color version in the end.

I won't put more effort into this, but this can be super handy to avoid having to be connected to the machine to test if game logic and various functions are working correctly. The big upside is that I can use actual code and not "log commands" that output something arbitrary to the terminal.    

Tuesday, March 30, 2021

Should have learned by now...

 ...to not say that things are going well. 

So I've been having some weird issues lately, problems that I've sometimes been unable to reproduce and they are seemingly random in behavior. I've mistakenly assumed these have been part of the conversion to using "several threads" described earlier.

But this time I noticed that some weird graphical bugs creeped in and since that code "cannot" do anything wrong (it basically sets a number on or off in a fixed array), I figured it must be a disk/flash issue since the letters are hardcoded . 

1) The M is consistently erroneous despite working fine the upload before etc.  


Then I realized, I hadn't enabled "Verify flash after upload" .. and, yeah. This. 

2) Verification always fails at the same adress on the installed Chipkit. 

Note that the flash is completed, so the machine boots and is playable. But it appears that whatever ends up in that space (this time it was the letter 'M') gets corrupted and could cause issues.

I've been uploading to the Chipkit a lot over the years, so it's not unlikely that the flash has finally failed. I also tested to do an upload and verify against a spare Chipkit MAX32 that I have, and that verified just fine.

I might try to keep uploading and trouble shoot on the broken (?) Chipkit until it completely breaks rather than swapping it now, since I'm working on isolated code segments at the moment.  

Update: 

The verification sometimes do succeed.  Obviously I won't leave things to chance later on, but for development of game scenes and thing that are "fixed" in scope - I can manage. 


Monday, March 29, 2021

Setting myself up for success!

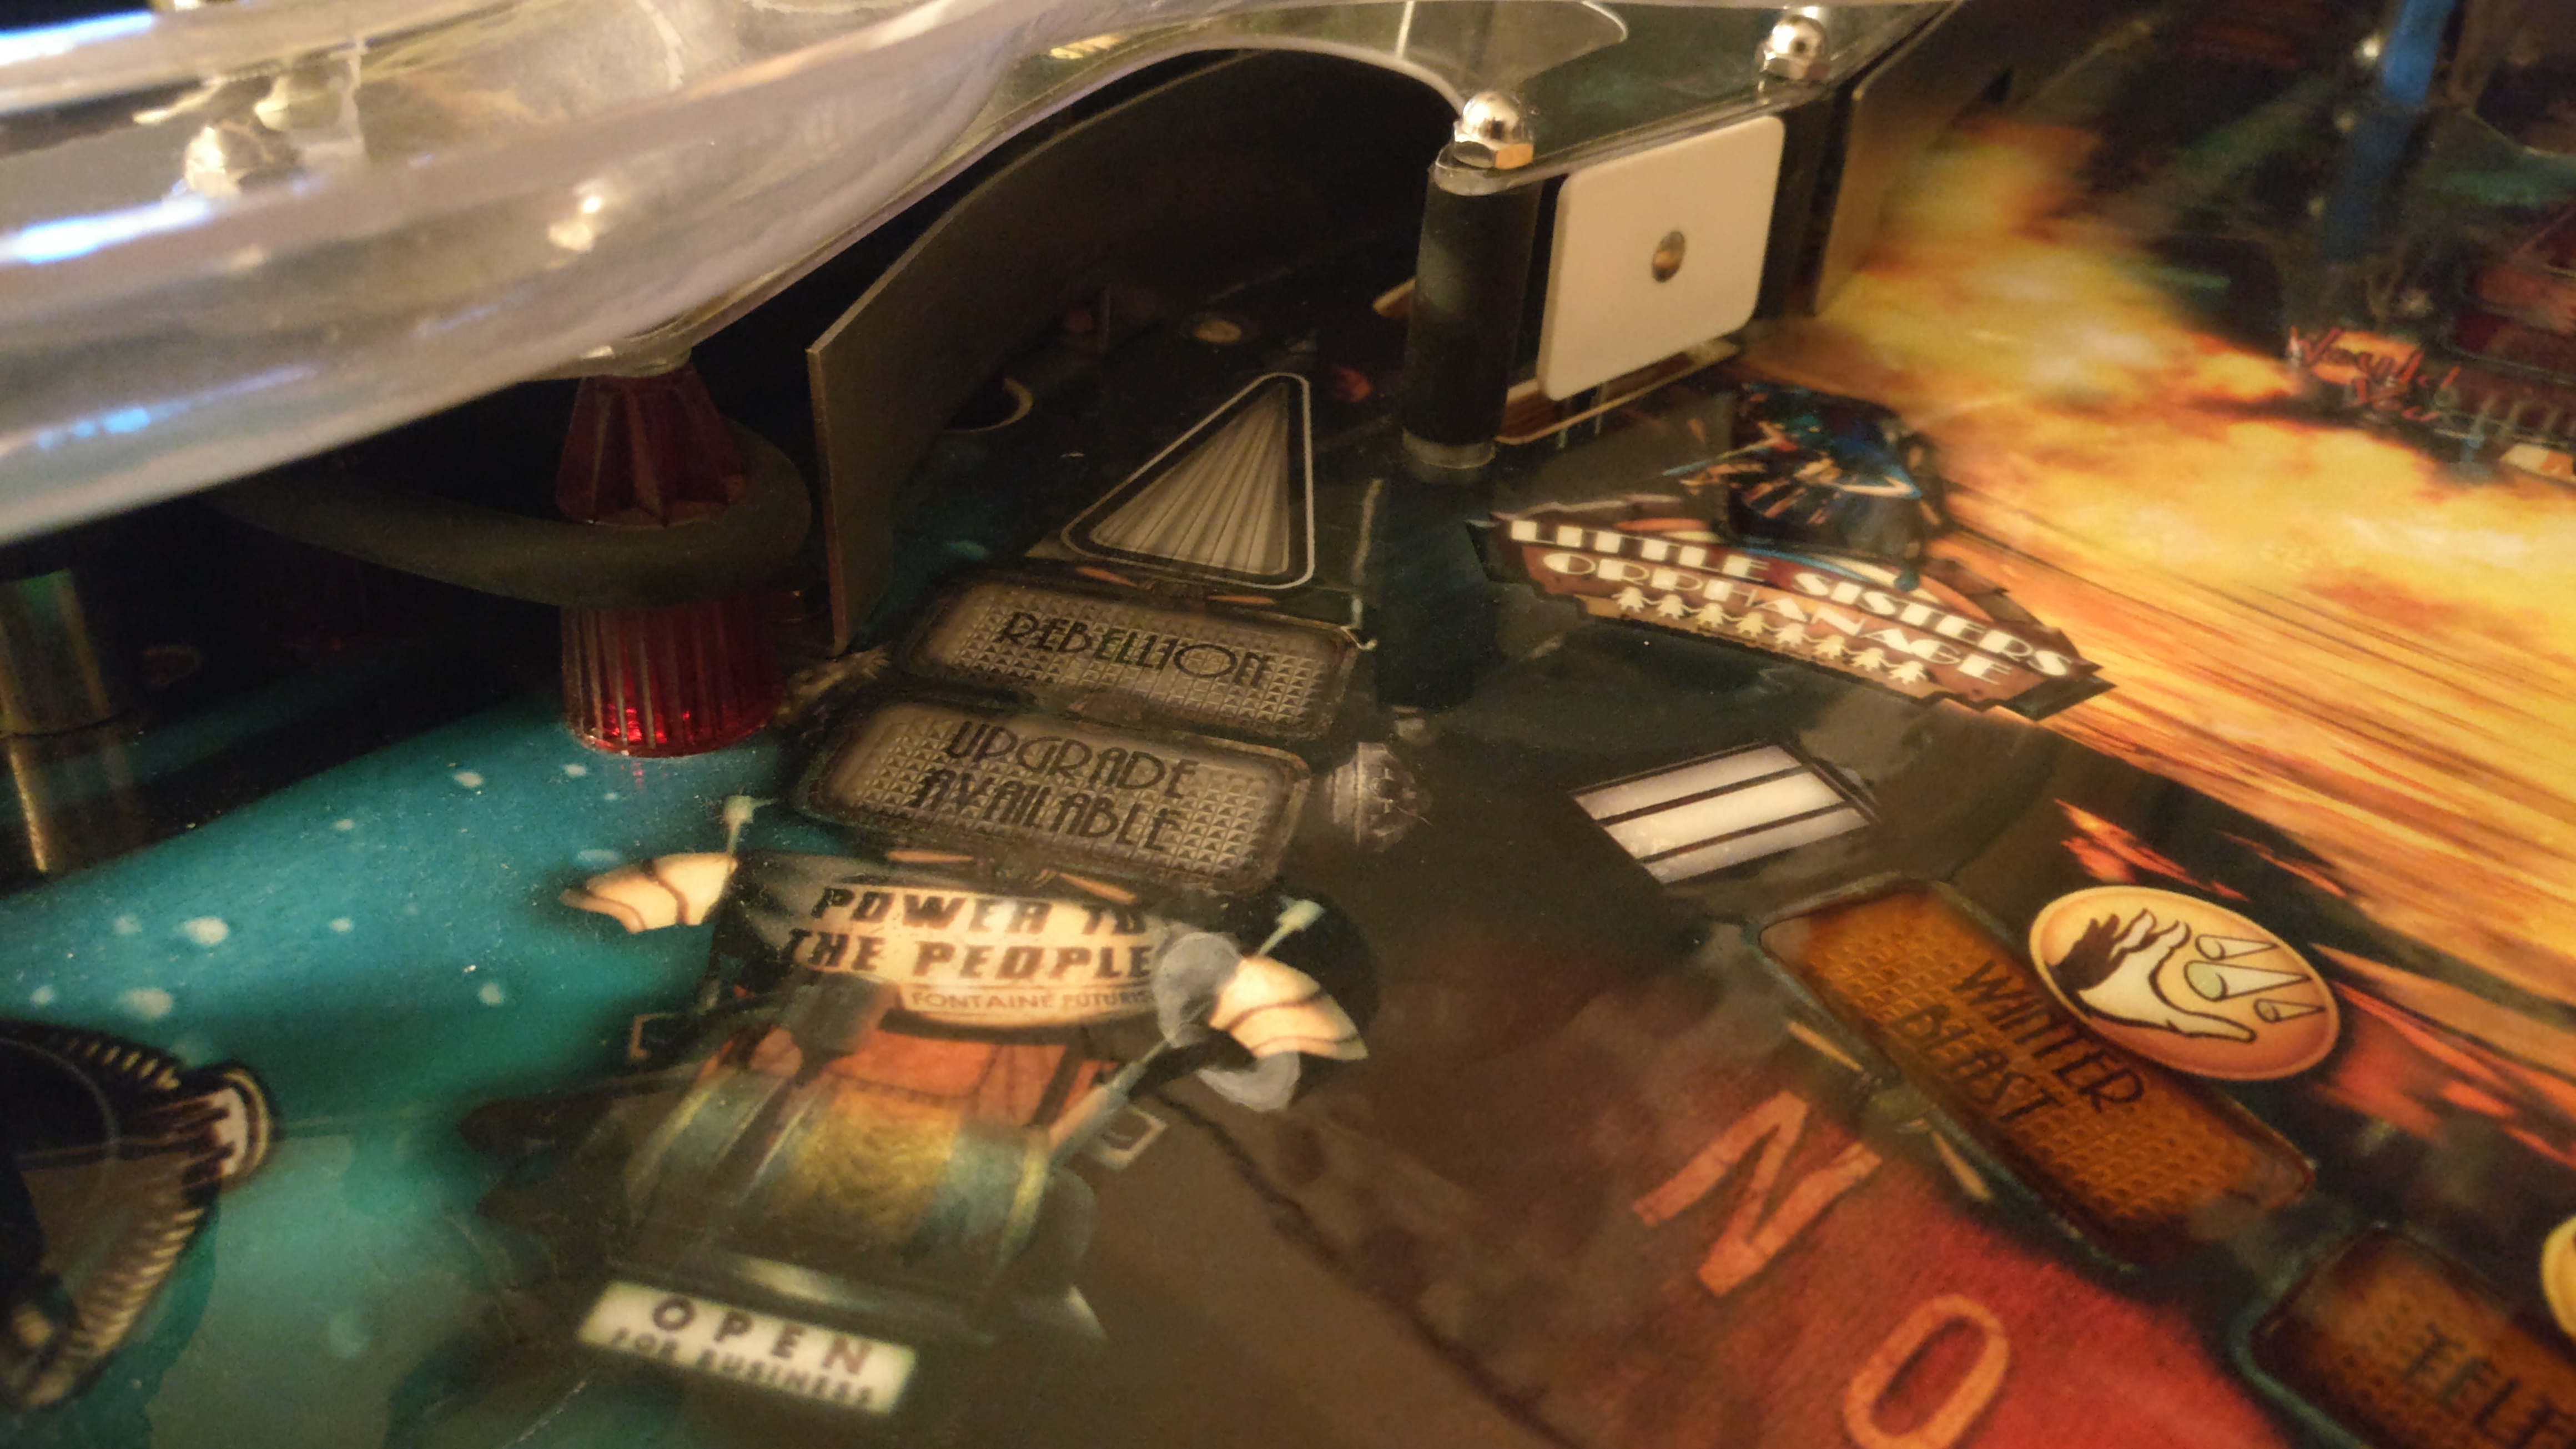
Still tweaking and improving on the general flow and function on the machine. 

I found out that I could have one more interrupt "loop" attached beside the one I've been using for, well, mostly everything - so I've migrated to using two separate loops for display and switches etc. 

Doing solenoid and switch updates at 1400+ Hz turned out to be a bit overkill, so by separating screen refresh from that loop I could increase frame rate while still keeping a solid 200 Hz refresh rate on solenoids and switches. This is more than enough to dim/fade lights and from what I can tell, I haven't been able to *not* register a switch hit.   

The downside is that code is somewhat more complex (servos in particular has proven a bit challenging, since I obviously struck gold with my magic numbers the first time...) but I'm getting there. Getting all time & counter values updated took a while too, but now I got TIME_1MS variables to use that are exact and not "40 loops", which can be whatever... So it's all good. 

Basic gameloop as in start game, play game, end game, award match or highscore etc is in place. Not "final" but in place. And that's quite a relief - and this also means that for the first time in YEARS I've actually progressed further than I've ever been. *optimistic fanfare* 


1) Highscore is in place, both reading and writing to EEPROM - and of course, earning them in-game.
The eagle eyed might notice a slight ghosting. This is due to insufficient wait time during display-enable/disable cycle, but I'll get that fixed soon enough. I might even revisit the DMD rendering routine eventually to see if it's the most optimal version. I'm not terribly sure the timing is 100% when reading the documentation for the display, but it can't be far off either.   


2) Various stats are being recorded and available to view in the audit menu. Beyond being interesting I plan to use the data to decide if a feature is too easy or too hard, balls drain to fast etc. 


Luckily the audit stats are getting reset eventually, since ball times aren't exacty... spectacular... during testing... :) 

I've also added a lot of settings that can be tweaked, including ball save time, lamp brightness, coil power, hold start to launch ball,number of hits required for this and that. Each setting comes with a type of setting that is rendered differently such as slider ("volume bar"), cycle values, on/off, yes/no and so on. I've also added the possibility to disable certain features of the game, for instance - if the drill-arm breaks it can be disabled so the game won't try to run it etc. I'm trying to plan ahead and add as many settings I can (and since it's simple to do - why not) that allows for greater flexibility when designing the game. It would be great if some years down the road the machine won't be completely inoperable in case of mechanical failure of some part. Most professionally constructed machines compensate for broken switches and machinery, so I'm trying to be at least on par. 

But...

I'm at 62% flash usage already. 
Hopefully actual game rules won't have to be just random points and sound, hehe.

I'm not expecting and issues really, since most of the heavy lifting is done with all the various classes, mainframe and scene management. Game logic is relatively simple, after all, and worst comes to worst - I could probably offload all maintenance names and text to EEPROM and stream in when required. It should free up a few KB of valuable space, at least, and if necessary I could also squeeze out a few more KB by using binary values for letters and numbers instead of having a byte per pixel. That means I won't be able to use per pixel colors, but I'll cross that bridge if I ever get there. 

All in all, code is shaping up pretty nicely! 

Friday, March 19, 2021

Down for maintenance...

 ...is something you might say during maintenance. :P 

Almost got all parts of the maintenance modes down by now.
Naturally, I will have to keep coming back to update certain features as the game programming goes on, but I feel most of the menues and how everything works feels pretty good. 


1) This menu will be super handy if something doesn't work as expected! Here, we see that the watchdog is disabled (due to open coindoor), and that in turn disable power and solenoid+flash MCP's. I'm thinking of enabling a "secret" debug menu that adds this screen and others as overlays during gameplay too.

One of these days I'll update with a video, hehe. 


Sunday, March 14, 2021

Here Be There Pixels...

 Been working a bit on the maintenance menues and the part from boot to attract mode lately. 

Not complete, but feels pretty good so far and having a proper maintenance mode is crucial. Before coding the first one (a few years ago) I thought that perhaps I wouldn't need it for a home pinball... But boy, has it helped. So I'm spending some extra "bucks" getting the newest iteration up to par with a commercial machine incl trough test, standard and feature adjustments etc. 

Behold the "slightly washed out due to sun reflections"-images below!


The icons above are created by first designing them in Pixel Art Studio (free version) and then converting to regular C arrays using Google Sheets. 


It's a few extra steps, but since there won't be a lot of them it goes really fast to "trace" them manually. Took about an hour to get the 19 icons I have converted to C. 

The good thing about Pixel Art Studio is that I get the exact pixel coordinate for each pixel, so I can do mockups of entire scenes and get the layout exactly right when recreated using various draw calls and texts. 

Good times! 

(Oh, and I broke my start button. So I need to fix it/order a new one... )

Saturday, February 27, 2021

Achilles, Agony and Ecstasy In Eight Parts

So, I decided to fix the power rails. 

First I removed the old fuses.... 


...built a board to host all three PSU's. 

Yes, three. The scratches on the 12V line is me severing that line to allow me to use a 24V PSU instead of 12V. This line also provided power to the Chipkit, so Chipkit got its own jack now too. Real pinball machines strobe their light matrix with 18V, so 24V should provide more vibrant lights and flashers. 


Black is the new ...black, baby! 


Prepared the little power circuit.... 


And removed / accidentally messed the traces when removing a capacitor (more about that later)...


....but finally got everything in place! 


Nice! Looking almost as if was part of the plan. 


The board lights up! 


But, did it work? 

Of course not. 


It's infuriating and fascinating how something can be tested and tested again, and work perfectly in a controlled environment - and yet fail miserably in the real world. Even when loosing my cool and removing a few of the caps (and doing a hack-job at it too....) it wouldn't work. 

So here's Mr Cable once again. At least it's before the fuse this time, although I'm not sure that'll help. 
The big downside is that I cannot start the PSU after I've inserted the USB-cable, so I have to power up the machine/board - then - plug in the USB-cable, or only use the USB-cable. 


To be fair, it does work without the extra cable - eventually. After a few attempts and the power has stabilized it's possible to re-init the IC's that fail and they'll work. But it's highly unreliable and even when removing the 5V fuse, the LED still lights up, so power is sourced from somewhere. I don't really know where the power creeping is coming from - it feels unsettling to leave it without the extra cable.

 Anyhow, win some, lose some. Story of this build. :) 


Wednesday, February 24, 2021

MOSFET's... You will never find a more wretched hive of scum and villainy.

So - apparently there's a thing called an ideal diode that can be created using MOSFET's instead

For instance, comparing two circuits built in Falstad


1) Diodes in series with the power lines, compared to P-Channel MOSFET's (+ protective diodes and resistors)


Even using default values (there are better - and worse - components out there) the P-Channel MOSFET version provides a voltage closer to the source and provide the same features. This MOSFET version should be possible to use in my "vertical fuse holder"-design as well, but require a bit more components and "not as clean setup".

I will have to do some breadboard tests to see which one to use as both will work, but it's nice to keep as much power as possible so I'm leaning towards using the MOSFET one at the moment... 

Saturday, February 20, 2021

Beam me up, Schottky!

So, I think I finally figured out - or at least the remedy for - why the extra cables were needed. 

It was pretty much as I expected and that voltage somehow got reversed in the circuit, and me either knowing too little about electronics or expecting too much from the power supplies. Rookie mistake in assuming the power supply would overpower the other components, but it seems that it doesn't. 

Long story short, it would seem that the capacitors I have on the PCB is enough to offset the "power balance" in the board, and by connecting the power lines to the ChipKit's lines I basically hijacked the voltage rectifiers to "heal" the PCB. 

By replacing the fuse with a diode (temporarily) all of my problems goes away: 

1) It ain't safe and it's not pretty, but proof is proof. 
Notice the disconnected +3V3 and +5V cables. 

Oh, fun fact:
Turns out that the +3V3 cable wasn't really needed.
I had damaged the trace on the board while removing the capacitor
in my first feeble attempt to solve the power problem a year ago or so. 


I used diodes to force current this or that way on the board, but forgot/ignored the main lines since I assumed they would be alright coming directly from the PSU. 

So now I'm basically trying to find a way to incorporate diodes (Schottky's) in series with each power line. The voltage drop isn't that bad (-0.48V) but still a lot more than I had hoped to achieve. I want to avoid having several boards and something like the below should probably work, but I could also use a P-channel MOSFET as a very low resistance diode. 


But I'm going to try to use a setup similar to the one at the top in the above image, where the diode would be standing up and connect to a vertical mounted fuse cylinder instead. It should work, and it seems there's enough space. Would be nice to get rid of this pesky power problem once and for all. 

But we'll see. 

Friday, February 19, 2021

Daily motivation!


1) Steinman got his sign back! (I misplaced it two years ago... :') ) 


2) I really like this corner. The two-way quadtych-switch is pretty cool. 
Although I am toying with the idea of making it open/close via servo... 


3) Got the new ball through in place, although I'm still waiting for my new soldering iron.
But switches tested and works fine.  


4) Someone asked me why pinball machines are so big... Thing is - the playfield is pretty much
the same size under the board as above, so there's not a whole lot of empty space inside actually. 


5) The plasmid saucer. I have not settled on the final behaviour yet, since it depends
on how hard it is to "backhand" the ball into this corner. But we'll see.  


6) Originally a captive ball, then thought to be a ball lock - and now "just" a lane. 
Kill your darlings, they say. Anyhow - it's a tricky shot so it should feel quite nice when hit. 


7) The upper playfield as it stands today. Looks pretty good, imho! 


8) A full overview of the playfield 2021.

I set out to make it look commercially made, and I believe I've
accomplished that as far as the playfield goes. Just need to make
sure the gameplay and rules are up to par!  

I really like that I've been able to make the whole 'miniature wonderland'-feeling
I wanted from a pinball. I've always enjoyed miniatures and the glimpse into another world
you can achieve with them. Can't wait until I get to play the first actual game! :)  


Wednesday, February 17, 2021

Jinxed-Schminxed ...

So, yeah... 

"unless - epic ninjas forbid - connecting the solenoids mess something up"

Guess what? 

I had messed up.

Almost burnt down the board since +48V pretty much forced all the gates open.

1) That mini-heartattack when you apply power, "all is well?" and suddenly smoke rises from the board
while the solenoids are going tick-tick-tick... 


I had pull-down resistors on the gates, but since the +48V and +5V didn't have a common ground the gates were essentially floating anyway. (Thanks for the help again, Majenko!) It didn't show up in earlier tests since I used +5V and ground from the board itself to test the circuit, but when the other supply was used it didn't work correctly. For some reason I assumed the high voltage power could be completely separated - and I realize how naive that was in retrospect. 

The fix was easy enough after actually finding the error, just a cable between GND & GND and Bob's your uncle...

...until I realized that I've somehow completely forgot to add pull-down resistors to pretty much all other MOSFET's on the board. *sigh*. So I'll have to fix that by soldering on resistors between gate and source even though that probably means putting components on the backside, but...

... my soldering iron broke down.

 
And now I play the waiting game with the Swedish postal service once again.
This build is cursed, I shit you not... 

But besides doing two lame n00bzor 2000-mistakes (which I didn't do when designing the circuits on breadboard, mind you) the machine can now flip balls.

And that's pretty dope. 

I also got two potentiometers in place to (in theory) help me dial in the opto's to only react to the IR-LED and not (as much from) the sun, for those rare Swedish summer days. 

2) Dialed In! ;) 
JJP are pushing out some high quality boards these days. STERN needs to up their game, imho... 


Footnote: 

I've been hunting a few bugs that are seemingly random - perhaps they too are caused by the floating pins. Would also be interesting to see if the +5V and +3.3V cables are required once all floating pins are properly grounded.  


Monday, February 15, 2021

The devil's in the details... (is he really that small, though?)

Spent the last weeks writing rules and preparing each game mode with music, sound effects and overall flow of the game. It's getting quite complex (as it should be) considering the development time on the machine, hehe. Since I don't have room for more than one pin, I guess it won't hurt having a deep rule set either. Doing my best to stay true to the game(s) while having a bit of artistic freedom with each event, I think I've got a good chunk of fun and must-have elements in there. We shall see.  

I've corrected a couple of wrongfully connected switches and finally bit the bullet and replaced a couple of older cables for the targetbank that I left with the wrong wire colors - as I obviously connected them wrong anyway. All good now, though! 

I've also added a few more decorations and touch ups on the playfield - without further ado:

1) Mask for the Quadtych. The area was missing something and once the mask was in 
place the whole area did, as Sander Cohen said, come together.
 

2) Spinner "topper". There's a few iconic places in Rapture, so it 
felt nice to have them presented on the playfield as well. 

3) Party mask for the New Year's Eve ...ahem.. party. 

4) The "hidden" doll lane has been upgraded with a physical doll figurine. It's adorable. 
Might get a proper one for my kids, haha. 

5) Although not necessarily in the "correct" spot, the lower right area felt a bit bare - until now. 
The original plan was to have this cage around the center VUK, but it looks crowded enough already. 


So, all in all - things are moving along and unless - epic ninjas forbid - connecting the solenoids mess something up, I'm looking at a fully playable machine in the very near future!  

Thursday, January 28, 2021

I Dream In Infrared...

 F**king finally - opto's are online! 

Pardon the french, but I've been troubleshooting the optos for 6+ months without success, and yesterday the solution came to me lying half-awake in bed... It's stupidly simple, has a few downsides - but it works. 

After a few months of this...

1) Breadboard horror...


I realized (but not sure why) there was no power reaching the +3.3V line that powers the opto's. Come to think of it, pretty much all +3.3V devices are powered by the Chipkit already... hmm hmm. 
Turns out it was easier to create a new circuit on a breadboard and use a regular remote to trigger the IR receiver. This allowed me to see exactly what worked, and I could then apply the same method of troubleshooting on the board itself. 

2) Dusty horror....

Anyhow - I suspect a grounding issue (remember way back when I had problems with the +5V line not functioning correctly, or rather some of the MCP23S17 IC's would not work) so I simply took the same approach here. Basically, allowing the Chipkit to force the current the right way, since I suspect they're better at designing PCB's than I... 


And sure enough - we got opto's. 


3-4) Opto off and on. Tried and tested in the VUK, so it works
properly with a ball too and not just some giant hand covering it up.


Bloody brilliant! 

Pretty happy that I didn't had to make any (more) changes to the PCB and/or create external circuitry. This was also the last remaining hardware that needed to be solved, so onwards to creating the actual game!


Still here? 

What do you mean 'downsides'?


Well, yes. 

This change has pretty much rendered the fuses on the +3.3V and +5V lines completely useless as power will be drawn from the Chipkit (also) regardless. I have moved the screen to it's own power line now though, so worst comes to worst - only a few MCP's will burn to a crisp in case of failure. 
I hope. 


Monday, January 25, 2021

Operation Mother

So - finally got my greasy fingers around properly installing the motherboard inside the machine.

Still haven't got my opto's to work but at this moment I'll have to live without them. Will need to debug the circuit and possibly rebuild it separately in the future. 

Like most of the work on this build it's a bit of "one step forward, two steps back" since I was only going to screw the board to the backing plate. But... I forgot that the backing plate was made out of cheap fiber board so screws won't work - and - of course the cables didn't reach the intended position for the board.


So I did what any hobby engineer with(out?) self respect would have done; I cut a big hole inside the frame of the head.

This worked alright, but due to the placement of the intended cut everything turned out a bit crooked. Not that it matters much, since now it's done. But I know my future self will grin at this during any maintenance session, haha...

"Fun fact" - while checking out the playfield, it turns out most of the rubbers have cracked and need replacements. Again. But I guess I kind of was prepared for that and it'll have to wait until the game logic / game rules are completed and the machine is closed up properly.


Other than a few mishaps; the board is now installed and I didn't break anything in the process!


Installed and ready to be developed!

P.S, ignore the double vision display, there's
a small gap between the display and the panel at the moment.